

Article 007 - Migrating an STM32 Blue Pill Project from Visual Studio/VisualGDB to VS Code
- Details
- Published: Friday, 07 August 2026
- Hits: 343
Migrating an STM32 Blue Pill Project from Visual Studio / VisualGDB to VS Code
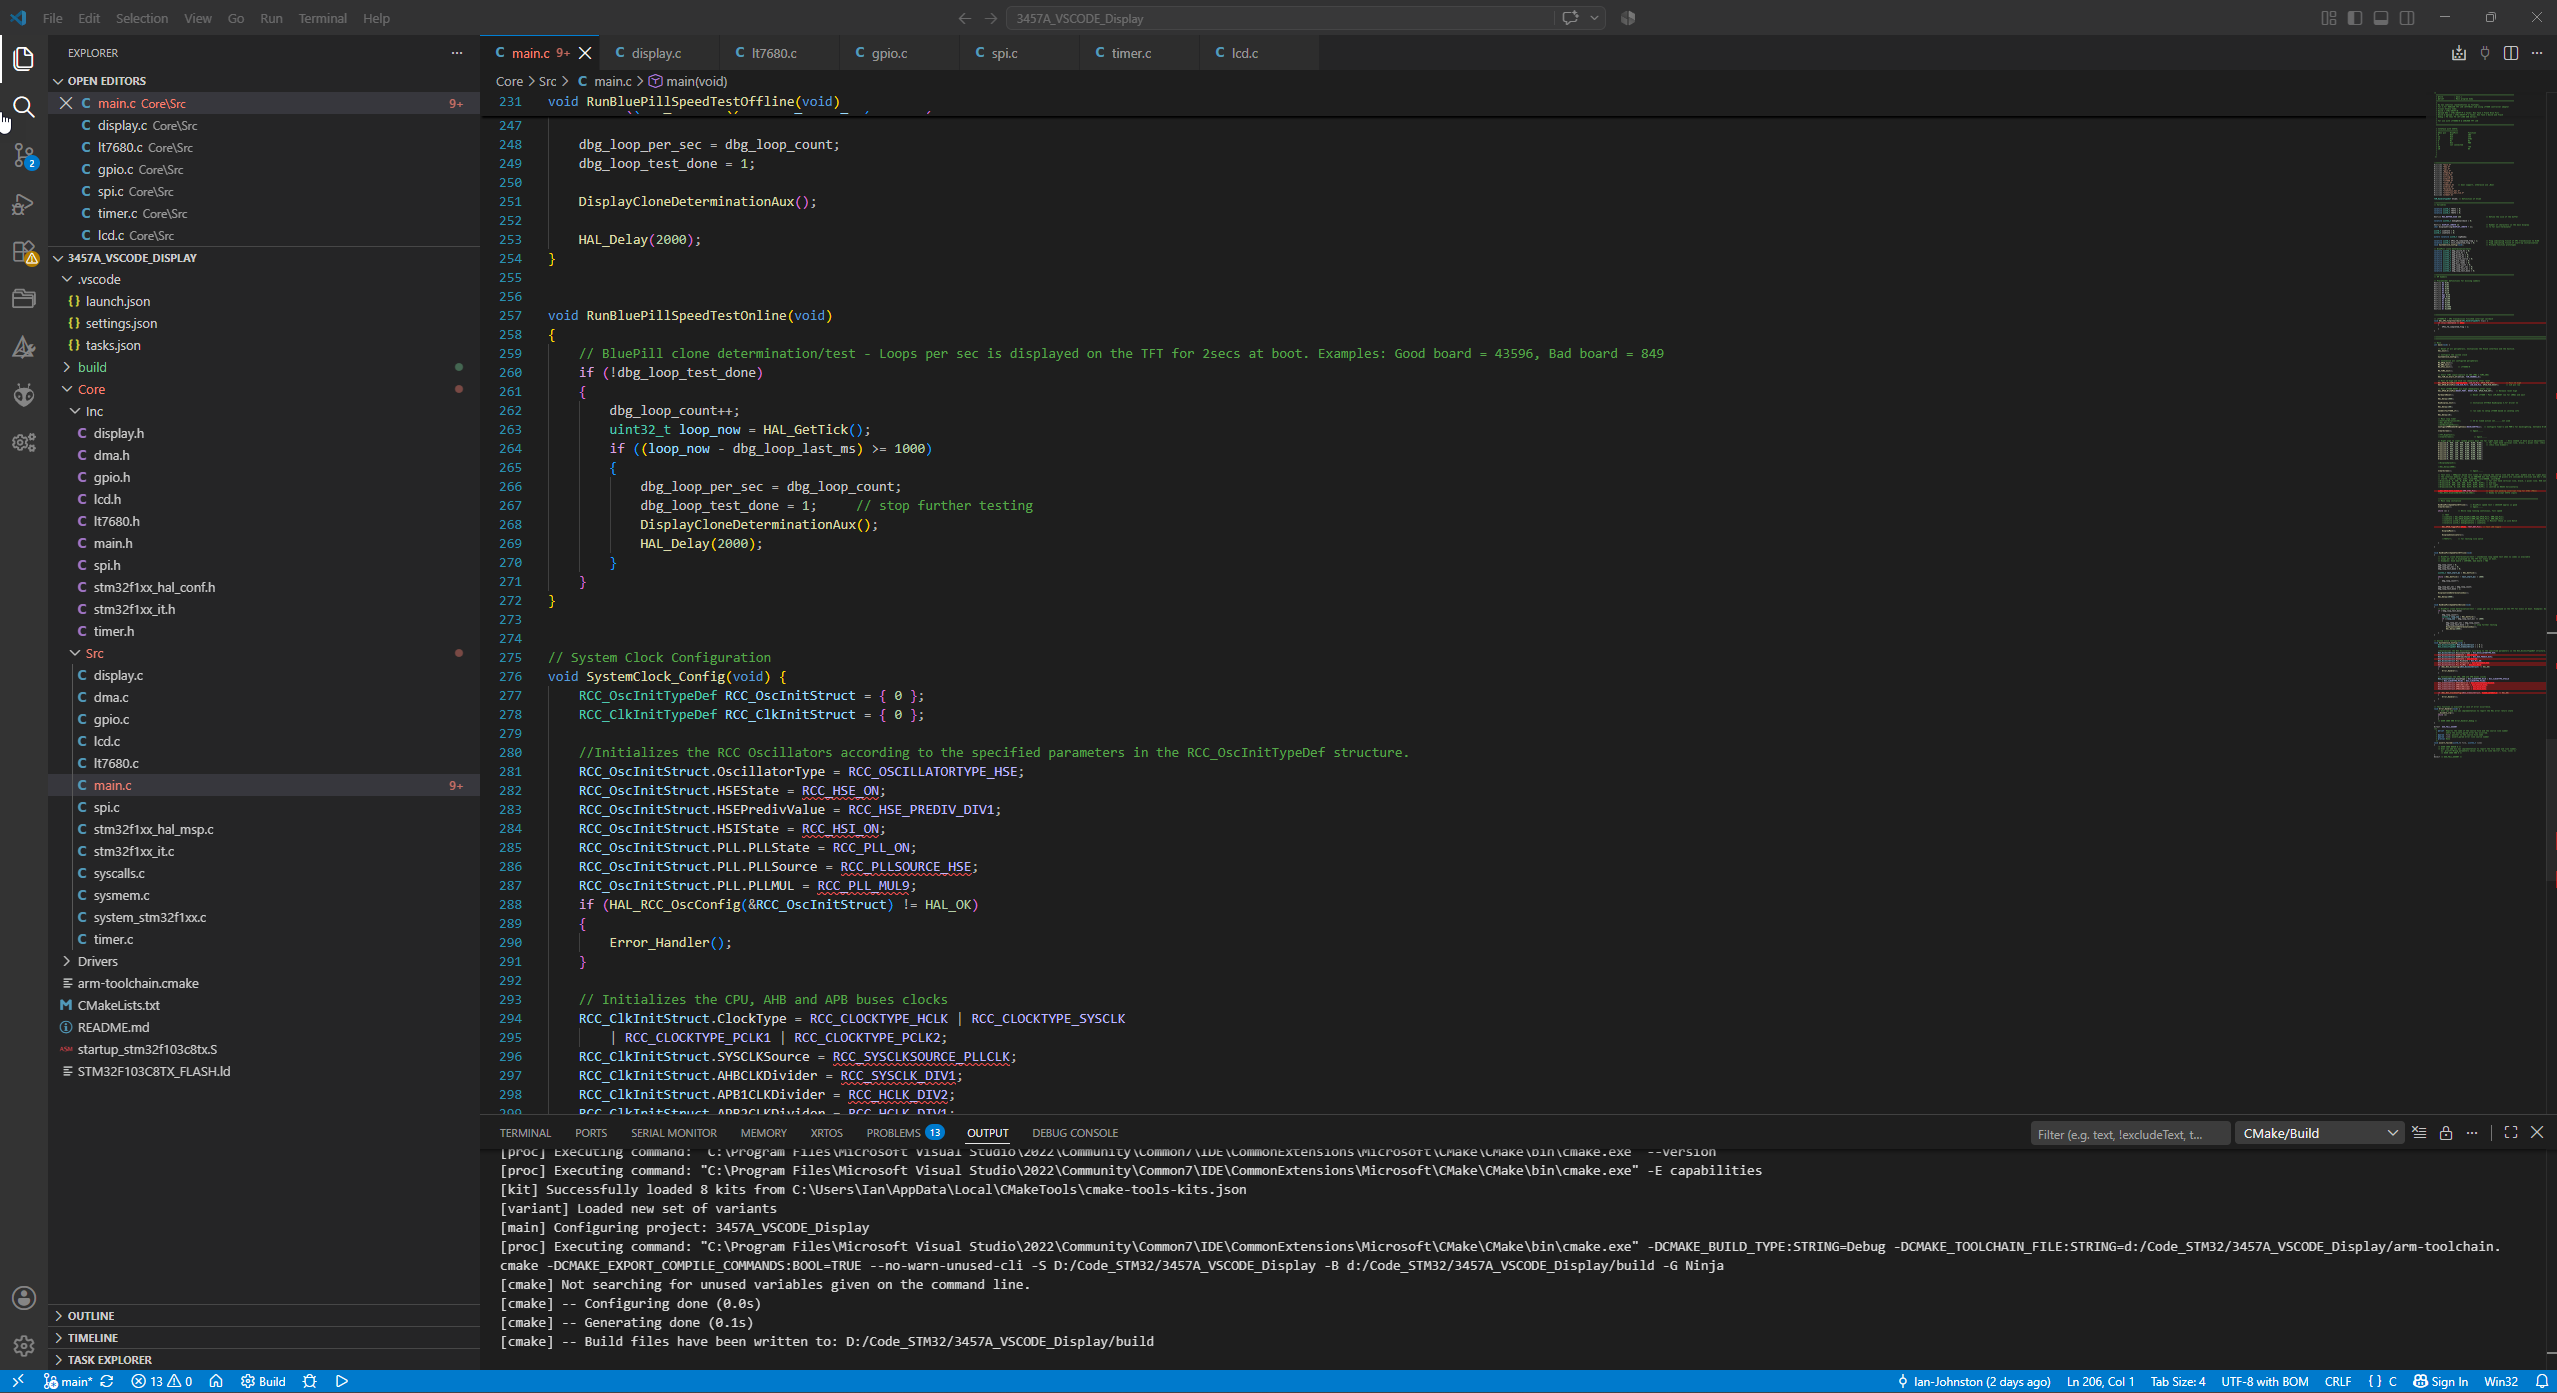 For many years I have used Visual Studio 2022 together with VisualGDB for developing my STM32 projects. VisualGDB provides a very convenient development environment, but I wanted to investigate whether I could move one of my existing STM32 projects across to Visual Studio Code (VS Code) and retain the features I actually use — particularly building, programming, debugging and Live Watch.
This article documents the process I used to migrate an existing STM32F103C8T6 "Blue Pill" project from VS2022/VisualGDB to VS Code.
I am not creating the STM32 firmware from scratch. I already have working .c and .h source files from my existing VS2022/VisualGDB project. The objective is to take those files unmodofied, create the relatively small amount of supporting configuration required by VS Code, and end up with a usable development environment.
The final setup provides:
- C/C++ editing in VS Code
- ARM GCC compiler
- CMake build system
- Ninja
- Build from within VS Code
- Programming via ST-Link
- Debugging via SWD
- Breakpoints and variable inspection
- Cortex-Debug peripheral and register views
- Live Watch while the STM32 continues running - Important!
- Install Visual Studio Code
- Install the ARM GCC Toolchain
- Install Ninja
- Install CMake
- Install STM32CubeProgrammer
- Install the ST-Link Software / GDB Server
- Connect the Blue Pill Using SWD
- Create the VS Code Project Folder
- Add the Configuration Files
- What Each Configuration File Does
- Build the Project
- Flash the Blue Pill
- Start the Debugger
- Enable Live Watch
1. Install Visual Studio Code
Install the normal Windows version of Visual Studio Code:
Then install these VS Code extensions:
- C/C++ - VS Code Marketplace
- CMake Tools - VS Code Marketplace
- Cortex-Debug - VS Code Marketplace
I also use Task Explorer for convenient access to my Build and Flash tasks, although this is optional:
Task Explorer - VS Code Marketplace
2. Install the ARM GCC Toolchain
Install the GNU ARM Embedded compiler/toolchain. For the STM32F103 you need the Windows AArch32 bare-metal arm-none-eabi toolchain:
My installation is under:
C:\ARM_ToolchainThe important programs include:
arm-none-eabi-gcc.exe
arm-none-eabi-g++.exe
arm-none-eabi-gdb.exe
arm-none-eabi-objcopy.exe
arm-none-eabi-size.exe
Your directory can be different, but the configuration files must point to the correct locations.
3. Install Ninja
Install Ninja and make sure VS Code/CMake can find ninja.exe:
My Ninja executable is located under:
C:\ARM_Toolchain\bin\4. Install CMake
Install CMake. You can use a normal CMake installation, or the CMake supplied with Visual Studio if you already have Visual Studio installed. CMake is used to configure the STM32 build.
5. Install STM32CubeProgrammer
Install STM32CubeProgrammer from STMicroelectronics:
This provides:
STM32_Programmer_CLI.exewhich I use from my VS Code Flash task to program the Blue Pill through the ST-Link. A typical installation contains it under:
C:\Program Files\STMicroelectronics\STM32Cube\STM32CubeProgrammer\bin\6. Install the ST-Link Software / GDB Server
The Cortex-Debug configuration also requires the ST-Link GDB server. ST provides this as part of its STM32 command-line development tools:
The important executable is:
ST-LINK_gdbserver.exeThis provides the debugging connection between Cortex-Debug/GDB and the STM32 through the ST-Link.
7. Connect the Blue Pill Using SWD
Connect the ST-Link to the Blue Pill using the normal SWD connections:
ST-Link          STM32 Blue Pill

SWDIO     ->     SWDIO
SWCLK     ->     SWCLK
GND       ->     GND
Provide the target with the appropriate power connection for your setup.
8. Create the VS Code Project Folder
Create a new project directory and copy your existing STM32 source into it. In my case I copied the .c and .h files from the existing VisualGDB project, principally the contents of my:
\Core\Src
\Core\Inc
The new project also needs the appropriate STM32 HAL/Driver files, startup file and linker script for the STM32F103C8T6.
9. Add the Configuration Files
My working project contains these main configuration files:
CMakeLists.txt
arm-toolchain.cmake

.vscode\
    settings.json
    tasks.json
    launch.json
I provide copies of my own working files so they can be used as a starting point. Check any absolute paths in them and change those paths to suit where you installed the various tools on your own PC.
10. What Each Configuration File Does
CMakeLists.txt
Tells CMake which source files, STM32 libraries, compiler options, startup file and linker script to use.
arm-toolchain.cmake
Tells CMake to use the ARM GCC cross compiler instead of the normal Windows compiler.
.vscode\settings.json
Configures CMake Tools, including Ninja and the ARM toolchain file.
.vscode\tasks.json
Contains my Build, Flash and Build + Flash commands.
.vscode\launch.json
Contains the Cortex-Debug/ST-Link configuration used when I press F5, including Live Watch.
11. Build the Project
Once the files are in place, open the project folder in VS Code and allow CMake Tools to configure the project. The build directory used by my setup is:
buildThe basic build operation is:
cmake --build buildA successful build produces the STM32 executable/debug file and the HEX file used for programming.
12. Flash the Blue Pill
My tasks.json contains a Flash task which calls STM32_Programmer_CLI.exe using SWD:
Build
  ↓
Generate HEX
  ↓
STM32CubeProgrammer CLI
  ↓
ST-Link
  ↓
Blue Pill
13. Start the Debugger
With the project successfully building and the ST-Link connected, press F5. Cortex-Debug starts the ST-Link GDB server, connects GDB to the STM32 and loads the debugging information from the ELF executable.
My configuration uses STM32F103C8 as the target and SWD as the interface.
14. Enable Live Watch
My launch.json includes:
"liveWatch": {
    "enabled": true,
    "samplesPerSecond": 4
}
Once the debug session is running, use Ctrl + Shift + P and select:
Cortex Debug: Add expression to Live WatchEnter the name of a suitable global variable. The value then appears under CORTEX LIVE WATCH and can be monitored while the STM32 continues running.
Visual Studio Code
C/C++ extension
CMake Tools extension
Cortex-Debug extension
ARM GCC / arm-none-eabi toolchain
CMake
Ninja
STM32CubeProgrammer
ST-Link GDB Server
Then copy your STM32 source into the project, add my configuration files, correct the installation paths where necessary, configure CMake, build the project and finally test programming and debugging.
The order I recommend is:
↓
GET IT TO FLASH
↓
GET F5 DEBUGGING WORKING
↓
ENABLE LIVE WATCH
